Procedure
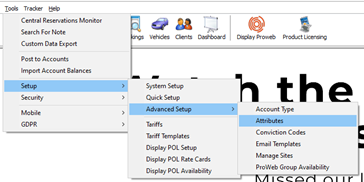
1. First, to access the Attributes screen you will need to follow the below path:-
- Tools > Setup > Advanced Setup > Attributes

4. To create a new attribute, you will need to click the ‘New Attribute’ button which will then allow you to enter the required Attribute Details on the right-hand side. This is also where you will be able to configure if the attribute is mandatory/searchable within the relevant screens.Figure 1 This field displays the name of the Attribute or Group under the Entity and it relevant entity criteria.
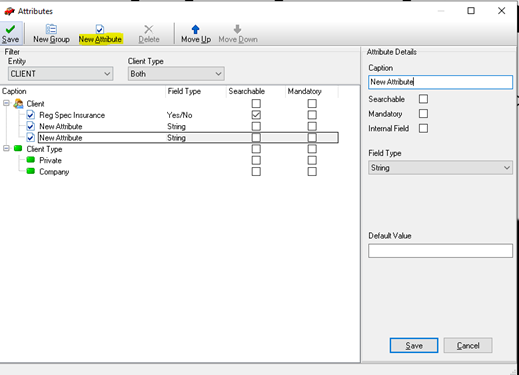
b. Searchable: Shows you whether this attribute will appear in the relevant entity search screen.
c. Mandatory: Shows you whether this attribute is a mandatory field within the Entity.
d. Internal Field: Tick this box if you would like it to store its information in an existing field within the database.


f. Default Value: Set the default value that will automatically appear in this attribute.
g. Save: saves the changes you have made for the selected attribute
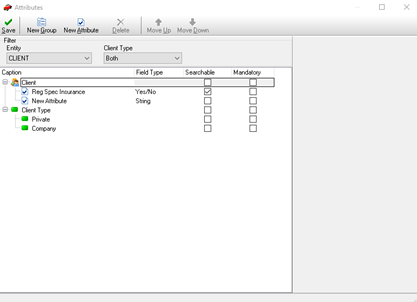
5. On the Menu bar in the Attributes screen you have several options

a. Save: Save any changes or additions you have made in this screen.
b. New Group: Create a Group under which you can place either existing or newly created attributes.
c. New Attribute: Create a new attribute for the entity you have selected.
d. Delete: Remove an existing Attribute from the system.e. Move Up or Down: Move the highlighted Attribute or Group up or down the list
6. After making any changes in this screen click Save to retain these changes or the X in the top right-hand corner without saving the changes.
