To start using the control types you will first need to follow the below steps to enter the job builder.
Tools > Setup > Display POL Setup > Under mobile jobs, click job types > click the pencil icon next to the job you would like to edit.
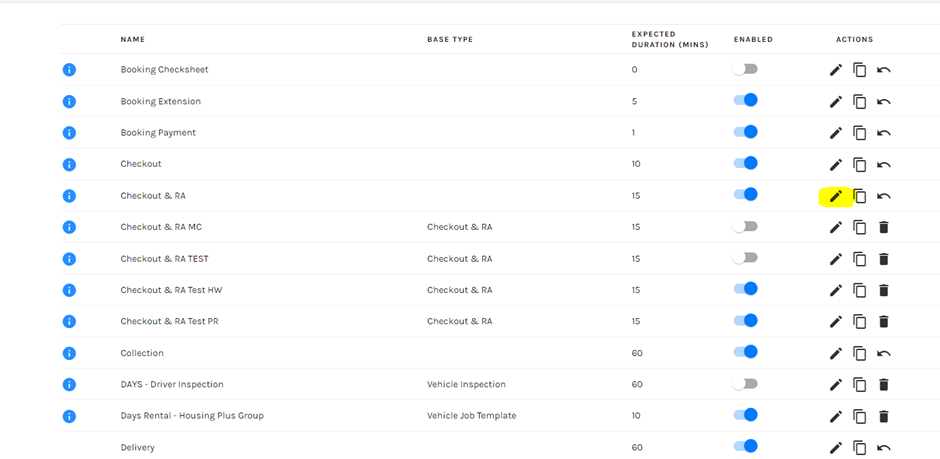
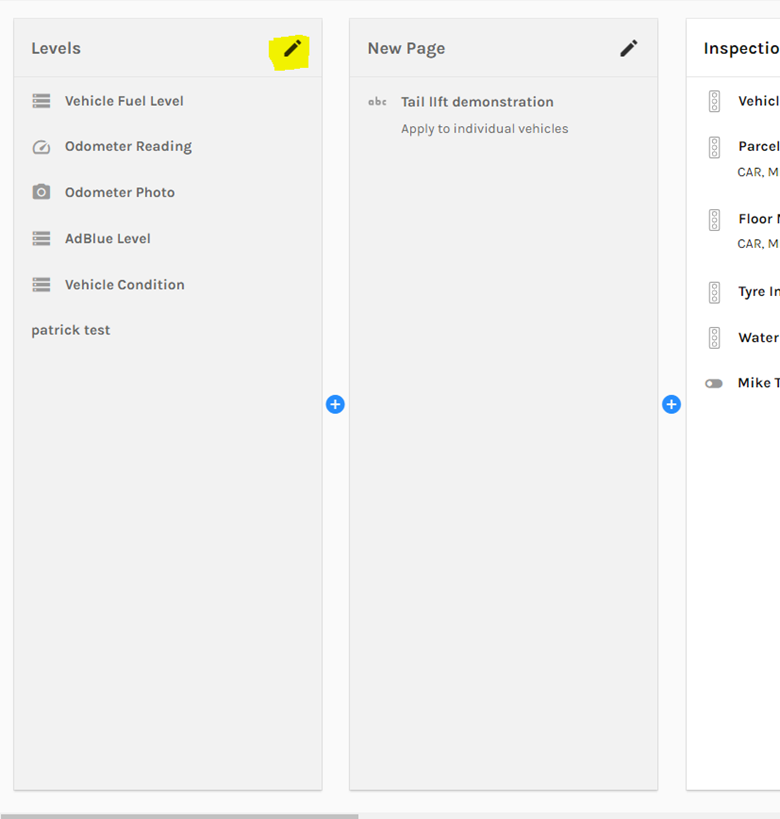
In my example I will be editing the checkout and RA job. Once you are inside the job builder you will need to select a page you would like to edit by clicking on the pencil icon.
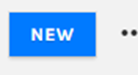
You will then be able to click the new button at the bottom of the page to create a new item.
From here you can choose when you would like the item to trigger. For now, we will just be clicking the details tab. Your screen should now look like this.
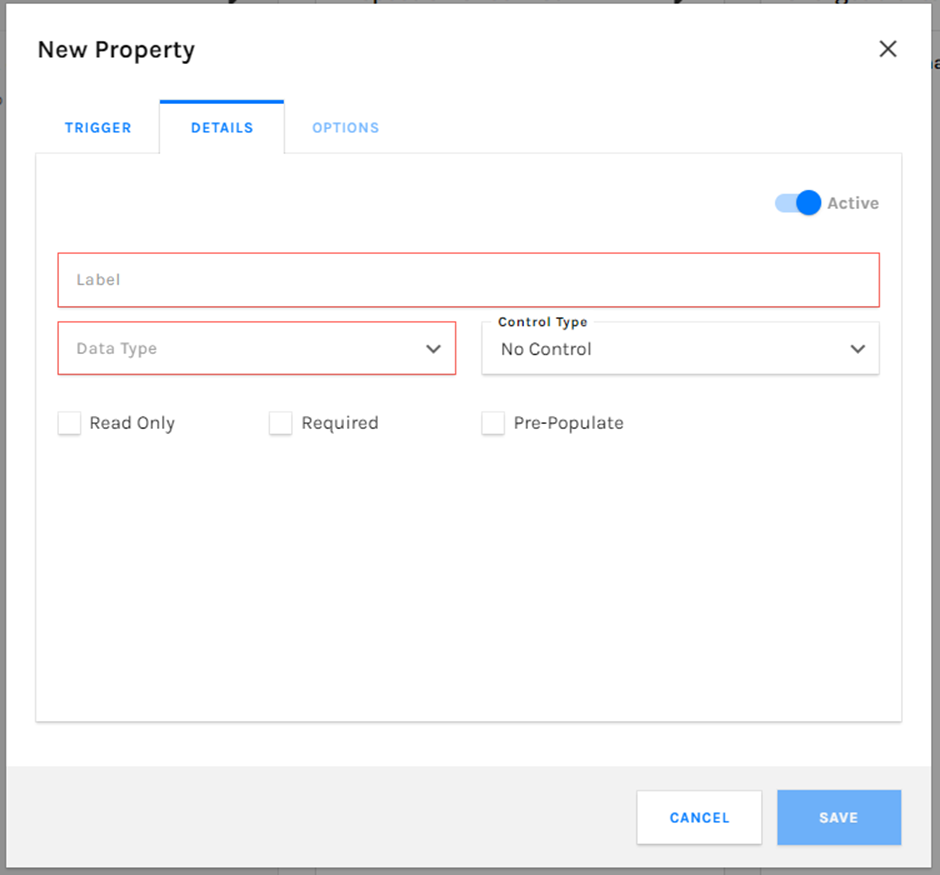
Now that we are here you will need to enter a name in the label box. I will be entering “Test”.
Then click the drop down called “Data type”.
You will be presented with several different data types. If you are not sure on what any of them mean, I have provided a list below with all the definitions in order.
Boolean: This data type is used when you would like to present a toggle. Much like an on or off switch. This can be used when checking to make sure the spare wheel etc is still in the vehicle.
String: This data type essentially creates a text box that you can type any information in to. This is useful when creating comment boxes.
Integer: This data type must be used with the Numerical control type as it will allow you to enter a numerical value. Some of its uses can be when counting the number of items returned in a vehicle for example you may want to count the exact number of knives and forks when checking out a motorhome.
Decimal: The decimal data type has 2 possible control types. 1 is currency which allows you to enter a number in the form of currency which is useful if you need to record any costs. The other is decimal which will allow you to enter a value containing a decimal point.
Date: this allows you to record a date of your choosing.
Date & Time: this allows you to record a date and a time of your choosing.
Distance: This field will allow you to record an odometer reading.
Image attachment: This field will allow you to take a picture using the camera on your device. This could be added to the interior and exterior photos pages and will allow you to take more in-depth pictures before a vehicle is checked out.
Inline Image: This field adds a signature box. This is useful if you would prefer more security around an area.
Selection: This field will allow you to select from a drop-down list. This can be created by moving over to the options tab and clicking add option. Each option added will be available to be selected in the drop-down list.

Inspection Item: This field will be treated as an inspectable and will therefore present you with a traffic light image. You will then be able to select from red, amber, or green. This is useful when recording the extent of damage or checking to make sure certain items are still present in the vehicle when it is returned.
Party: This field will provide you with the ability to search for a client to add to the job directly from your Prohire client base. Th clients name and client number will show on the job once selected from the dropdown.
Resource: This field will allow you to search for and enter a vehicle from your list of on fleet vehicles. The vehicle registration and make/model will show once the vehicle has been selected from the dropdown.
Data Entity: This is one of the more complicated fields as it essentially provides you with the same options for the data type dropdown does but with some added extras. I will only explain what the extra Items do as the others are the same as the original data types.
Data entity control types
Email address: This will allow you to add an email address and will expect the email address to be in the correct format I.e., 1@1.com.
Phone number: This field will allow you to enter a phone number and will be expecting only numerical characters.
Post code: This field is currently under development and should not be used.
Web Link: This field will allow you to enter a web link to an external site and will treat what is entered as a web link.
QR code reader: This field will allow you to add QR code functionality on the job. This is used on tracker jobs to scan the QR codes on the physical tracker.