To guide you through how to create a new email template via Prohire Online Setup.
The first step after logging into your Prohire system is to navigate to ‘Display POL Setup’ which can be done by following the steps in the screenshot below:

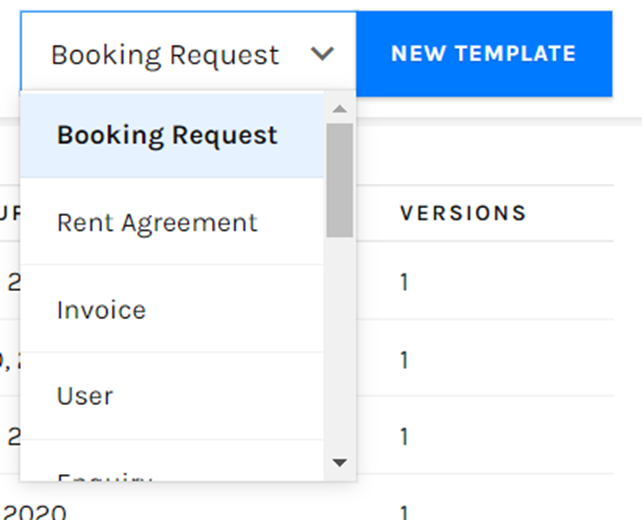
Next, you’ll want to expand the ‘Setup’ tab on the left hand side and select ‘Templates’ before selecting ‘New Template’ using the labelled blue button in the top right corner.

The screenshot below depicts the drop down property containing each of the templates you have according to the category or type in the top right hand corner drop down.

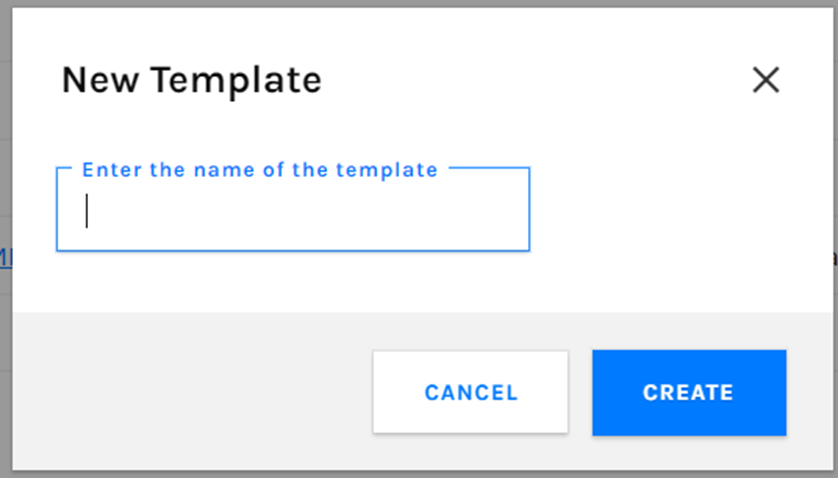
After selecting ‘New Template’ you will be presented with the ‘New Template’ window where you are prompted to enter a name for the template.

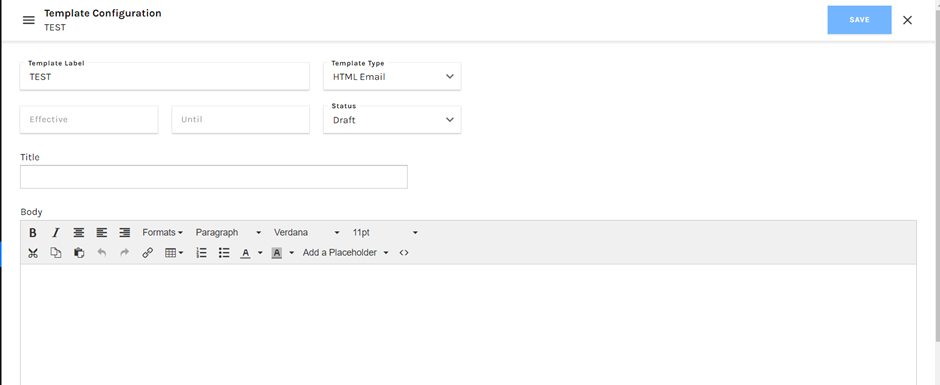
After selecting ‘Create’ from above you are redirected to the ‘Template Configuration’ screen where you can setup your new email template.

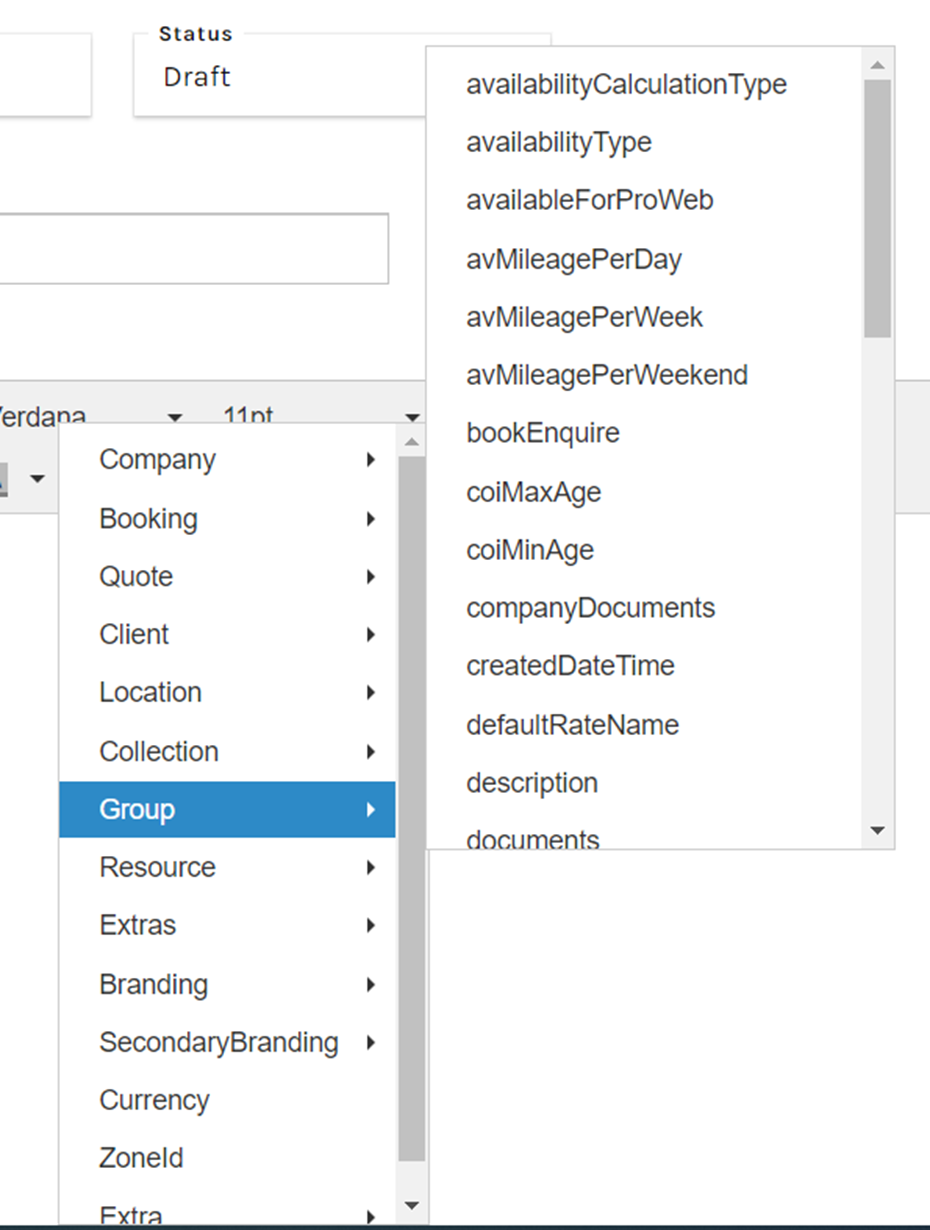
Aside from filling in the self-explanatory fields, you can also input tags using the ‘Add a Placeholder’ button which will allow you to pull through relevant information should you want / need to. Click Save once you are happy.
