Purpose
Building upon prior knowledge from previous training and initial implementation calls from the Prohire support team to successfully take your hire from ‘Booking’ stage to ‘On Hire’.
Procedure
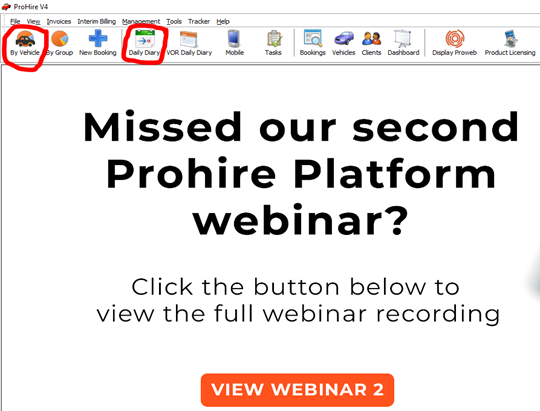
Checking out a vehicle takes place from within the Booking / Rental screen and whereby the Booking status is ‘CONFIRMED’ which occurs once the booking has been confirmed after coming through usually as an enquiry. There are, however, two methods for accessing the booking screen in order to check it out, the first and arguably easiest method is to go through the Daily Diary from the front screen of Prohire and the other method is to locate the booking by using the Allocation Chart also from the front screen (top left, by vehicle).
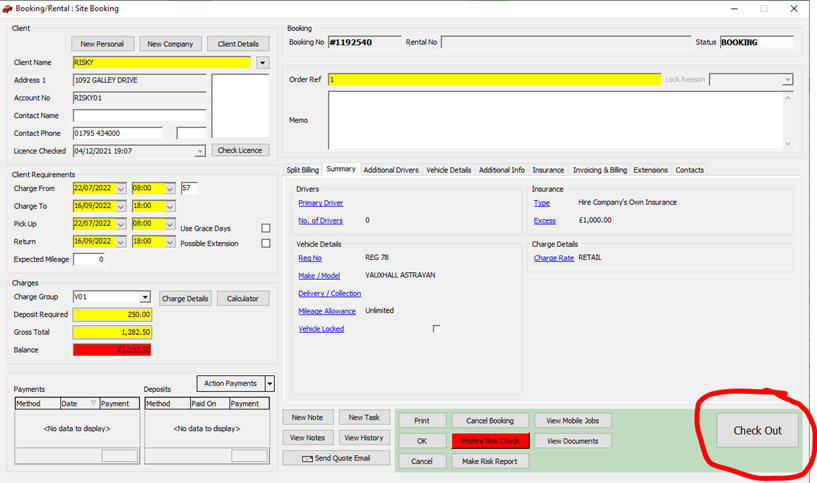
The first step with the Booking / Rental screen once all booking details within are correct on the booking, ensuring all the necessary payments, adding charges etc. is to click the “Check Out” button located in the bottom right corner of the screen.
You will then be taken to the Pre-Rental Check screen, the mandatory fields on this screen are all highlighted in yellow to indicate that this will need completing before you are able to proceed. However, here you also have the chance to enter any damage that exists on the vehicle or for any equipment that is being provided with the vehicle. You also have the chance to print a Check Sheet from this screen. Having entered all the vehicle’s check out details, click Save to proceed.
Once you are finished with the Pre-Rental Check screen you will be taken to the insurance questions screen where you can verify on the system the customer’s responses to said questions answered. This screen will inevitably be shown for the additional drivers on the booking and also when private clients have been assigned to the booking. After noting the responses in the boxes supplied on the right, click OK to proceed to the next step.


