The purpose of a VOR booking is to mark the vehicle as being off the road and unable to be hired during the period of the VOR booking for reasons such as it being taken into a garage for work done such as an MOT.
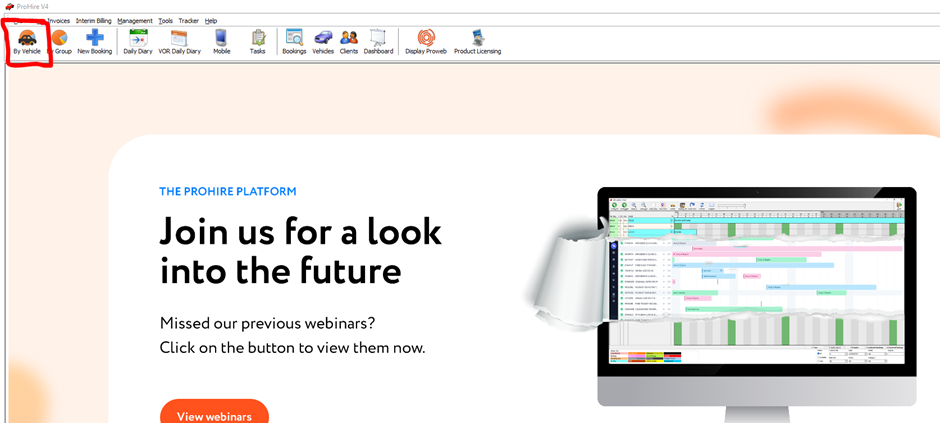
To begin, make your way to your allocation chart via clicking the ‘by vehicle’ button in the top left of the Prohire home screen.
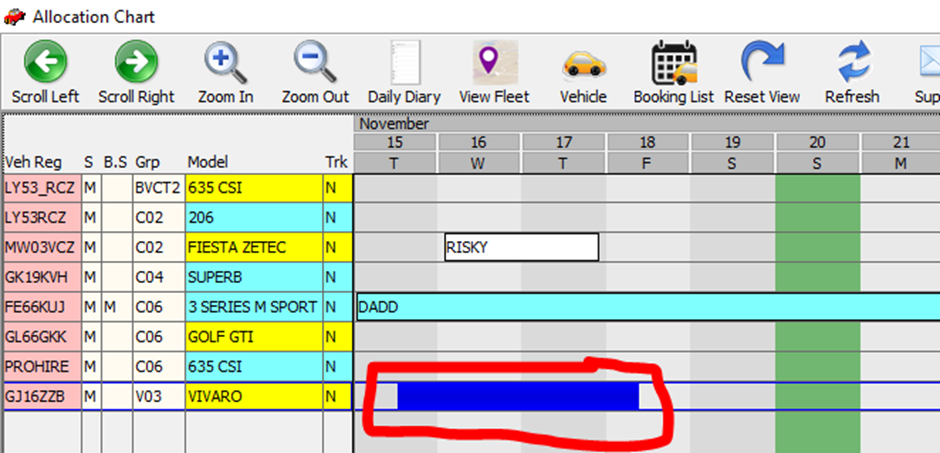
Click and drag on the chart against a vehicle to create your, what will be, VOR booking.
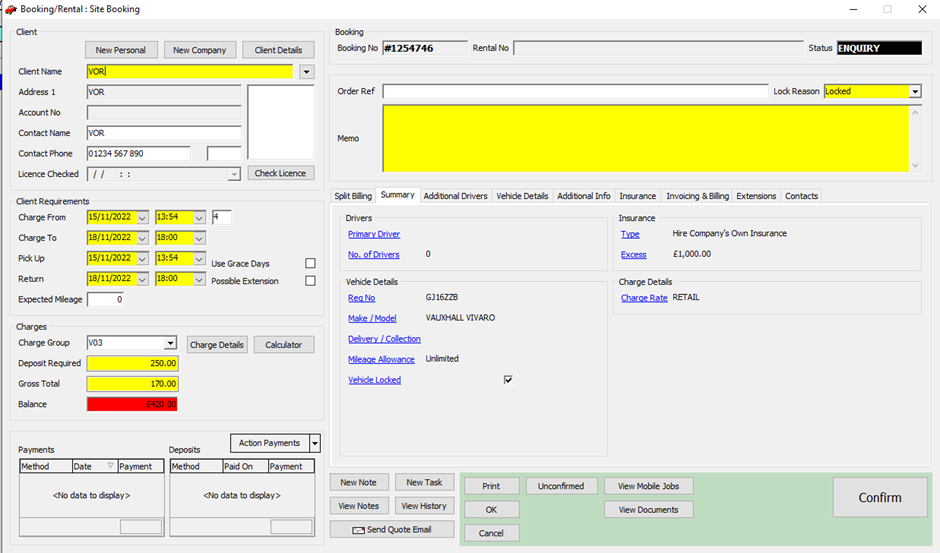
Once you have the booking screen open up, clear the client's name field and enter VOR in there before hitting enter on your keyboard.
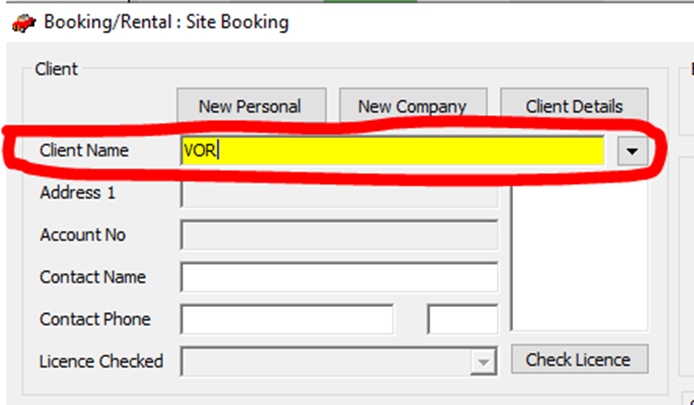
If a VOR client isn’t present, then one will need to be made. However, it isn’t imperative to name it as VOR and can instead be named, for example, after a garage that is often used for MOT’s or damage repair for example by your company.
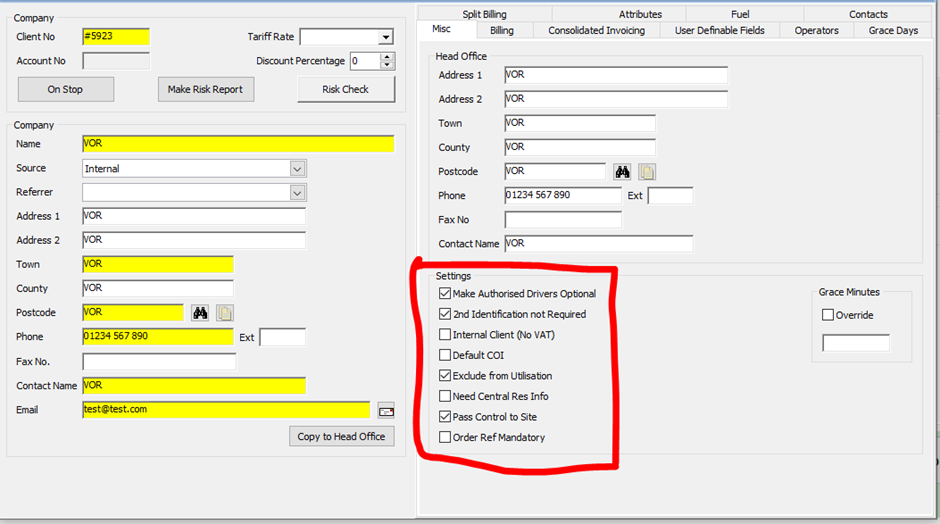
This should present you with the below client record which is reserved specifically for VOR bookings.

This will populate the booking with the VOR client’s details, and the booking has now been created as a VOR booking. However, you will also need to zero out the charges that are present and enter something within the yellow memo box area that points toward why the vehicle is off-road during this period.
This VOR booking will need to follow the checkout process until the status reads ‘ON HIRE’. This is because of the fact that the extension function can then be used in the case that the vehicle is off the road for longer than initially anticipated. This also means that the utilisation of VOR is reported on correctly later within the Prohire reports. These reports include VOR data that are of course, only useful if they are calculated correctly.
There are a number of settings to check within client details when creating a VOR booking and these are to ensure the following are ticked: Exclude from utilization, 2nd identification not required and make authorised driver optional. Finally, it is best to make sure the client type is a company as opposed to private one.
