Accessing the Branding Settings
From Prohire Desktop select Tools > Setup > Display POL Setup

A web page will then open, select Setup > Branding
Creating Document Branding
The Brandings Page will then appear, if you have not set any branding this section will be blank.
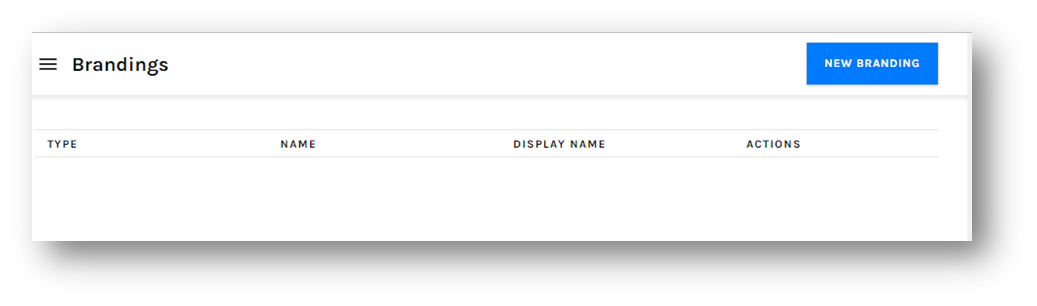
Select the New Branding button. Then select which type of branding you wish to create.
In this example we will first create the document branding.


The New Branding window will appear.
Update the below fields as required.

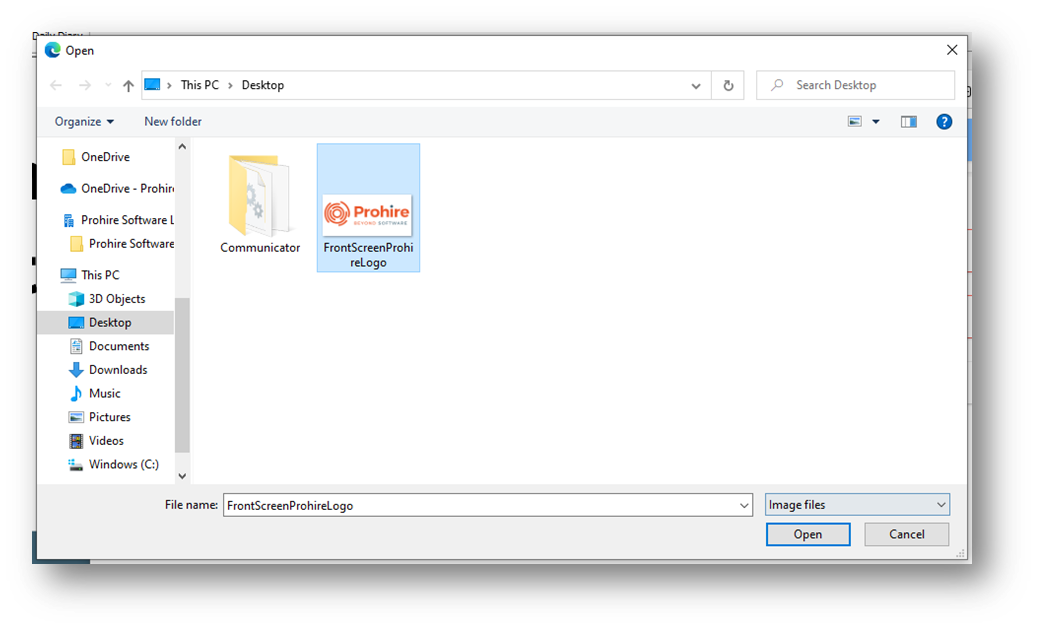
Logo
Select Upload to open a file explorer where you can then select an image file you wish to use as your logo.
- We recommend a PNG or JPEG file with the best resolution possible to prevent any pixelation.
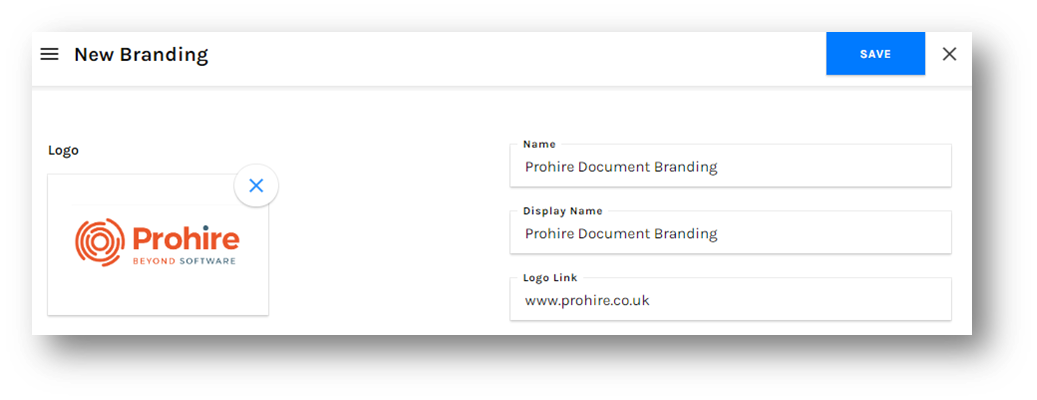
You will then see the logo upload onto the New Branding page.
Name/ Display Name - We recommend you call this something generic for example ‘Prohire Document Branding’.
Logo Link – Specify where you want the customer to be taken if they were to click the logo on the document.
- If you don’t want this function leave this section blank.
The New Branding page should look like the example below. Once happy select Save, or the X to cancel.
Creating Email Branding
For Email branding follow the same procedure as above for the Logo, Display Name/Name and Logo Link.
There is an extra option called Colour, this allows you to alter the banner at the top of the email.
- You can either type in the colour for example ‘Red’ or enter the specific colour code you wish to use. For example, the colour red is ‘#FF0000’.
- There is a live email preview which allows you to see the changes in real time.
The New Branding page should look like the example below. Once happy select Save, or the X to cancel.

You will now see your newly created brandings under the Brandings page.
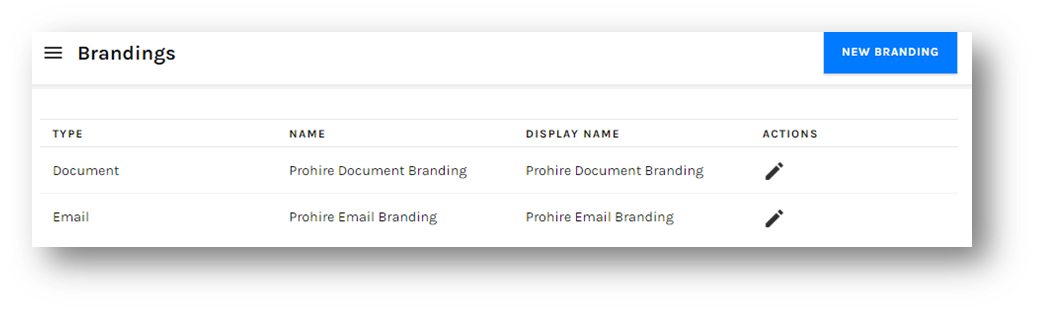
To edit the brandings, select the pencil icon under the actions column and follow the same process as above.
Setting Document/Email Branding
Now that the branding has been created it needs to be enabled.
Go to Setup > Hire Company

Select the name of your branding from the below drop-down options.

Select Save to confirm the changes.
Go to Setup > Locations

From the Locations screen select the pencil icon under the actions column.

Select the name of your branding from the below drop-down options.

Select Save to confirm the changes.