Raising a Sundry Invoice
Open the booking you wish to add the sundry invoice to. This can be done via the allocation chart or by searching for the booking via the ‘Bookings’ button.
Once you have the booking open go to the ‘Invoicing & Billing’ Tab. Then select ‘New Sundry Invoice’.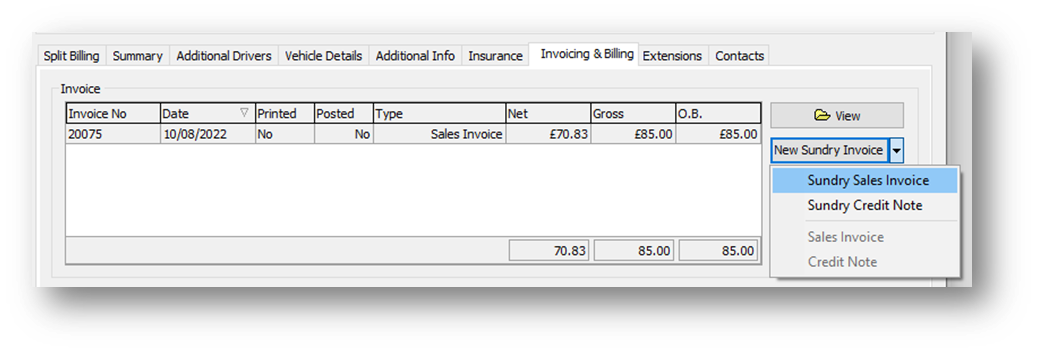
-
- As we are raising the sundry invoice via an existing booking the client's name and booking number are automatically included.
- Please note once the invoice has been finalised these details cannot be adjusted.
- If you wish to add the vehicle you can enter the registration into the ‘Registration No’ Field, then select the three dots to the right. This will allow you to select the vehicle associated with the invoice.
- We recommend that you always associate a registration with an invoice as it allows for you to easily see what's been charged and to what vehicle if there were multiple vehicles against a single booking.
- We also recommend that invoices are created within a booking so that they are automatically associated to a booking.
- As we are raising the sundry invoice via an existing booking the client's name and booking number are automatically included.


-
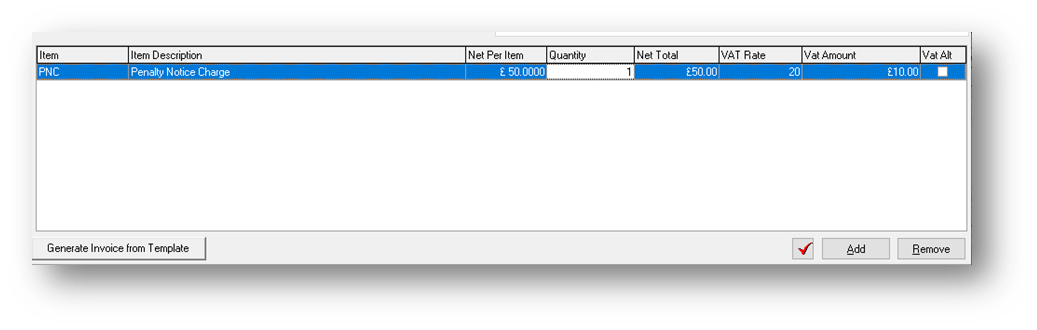
- Item – Select the charge item you wish to charge for from the drop down provided. You can also type the item in.

- Item Description – Select this field and some standard text will appear, you can click into this field if you wish to add more details.

- Item – Select the charge item you wish to charge for from the drop down provided. You can also type the item in.
-
- Net Per Item – Enter the amount you wish to charge.
- Quantity – Enter the amount of times you are charging this. (£50 Net x 2 Quantity = £100 Net)
- VAT Rate – Enter the rate of VAT being charged
- You will see the VAT Amount field automatically calculate based on the above.


Once you are happy with the invoice select ‘Finalise Invoice’
-
- Remember once you finalise the invoice you cannot make any further adjustments.
- If you are unsure, you can always save the invoice by clicking the ‘OK’ Button and then coming back to it once you are sure the details are correct.
- When a invoice is saved it goes into a pending status which can be searched for within the ‘List Invoices’ screen on Prohire.

- When a invoice is saved it goes into a pending status which can be searched for within the ‘List Invoices’ screen on Prohire.
You can then send the invoice via email by selecting the ‘Email Invoice’ button.
The newly raised Sundry sales invoice will now appear in the ‘Invoicing & Billing’ Tab.