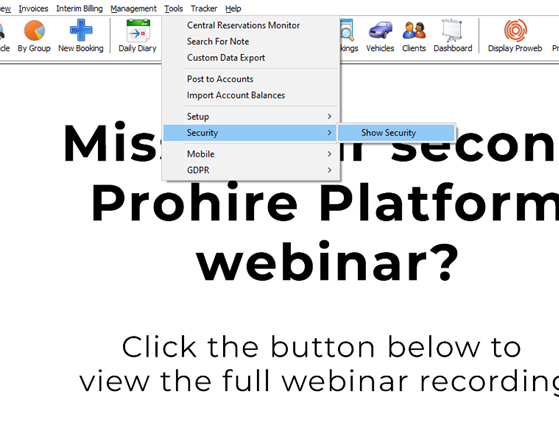
The first thing you will need to do if follow this process below.
Tools > Security > show security
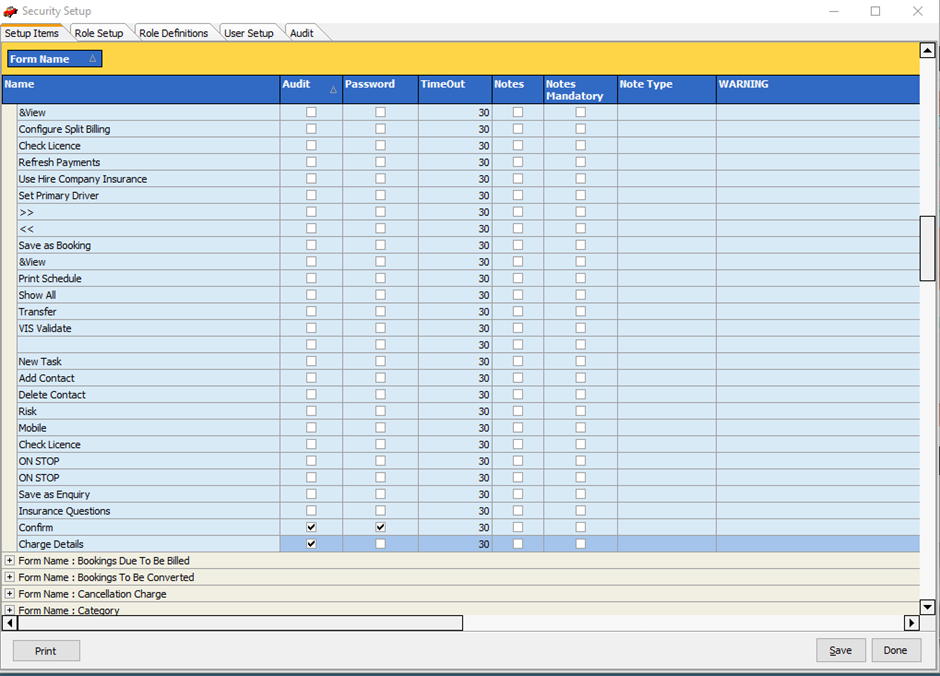
You will need to enter your username and password to access this area. This screen can look very daunting but if you break it down based on what it is you need to see it becomes easier to use.
For now, we will be looking at booking audit points, so I have expanded the booking/rental node by clicking the “+” icon.

From here you can tick the boxes for the items you would like to be audited (password protected). The audit tick box will record the activity and the password tick box will ask for a password each time this action is performed.
As you can see below I have selected both for confirm but only the audit button for charge details. I will show you why I have done this later. Once you are happy with your changes click save.
You will also need to now restart Pohire to confirm these changes.
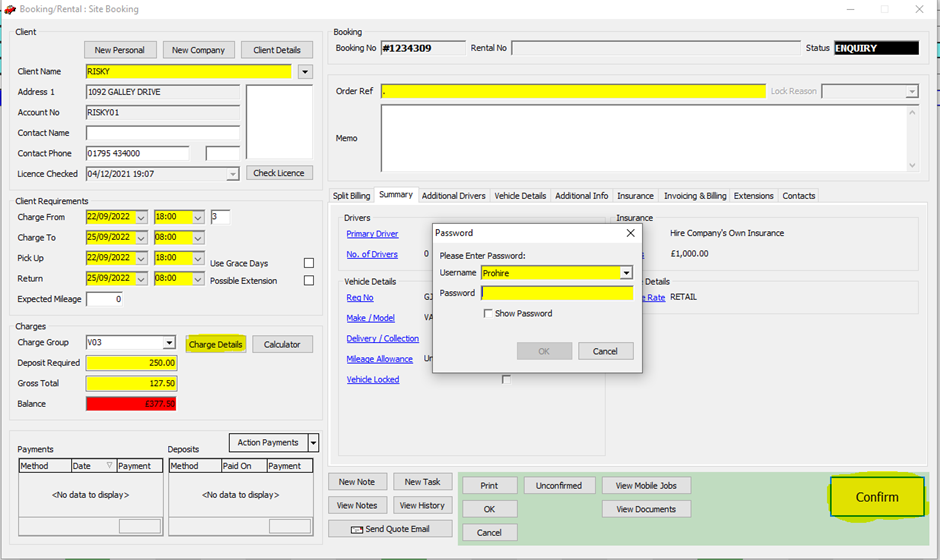
Now let's move on to the effect that this has had on Prohire. as you can see below, I have clicked the confirm button on a new booking I have created, and it has asked me to log in. I have also done the same for the charge details button, but it did not ask for a username and password.
 These actions will be recorded in the history section of the booking. You can view this by clicking the view history button at the bottom of the booking.
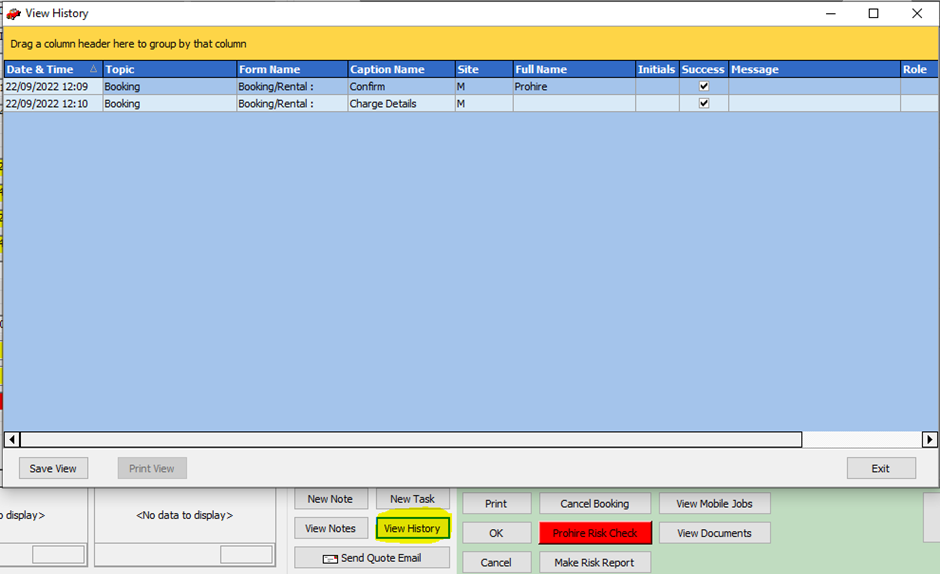
From here you can see that the confirm button was clicked and a username and password was entered. You can also see that the charge details button was pressed but a username and password was not entered so it is not populated with a name. this is the difference between the audit and the password tick boxes.
We recommend that you always have audit and password ticked within the security setup.