Firstly, begin by navigating to Tools > Setup > Display POL Setup from within Prohire. Next click on “Setup” and then “Templates” from the left hand menu.

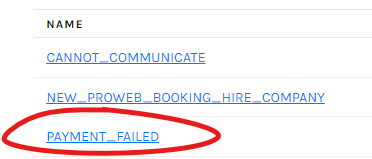
To view an email template, simply click on the blue link for that template under the “Name” column.
To begin editing a template, click on the “New” button in the top-right hand corner or the pencil icon if you have already created a custom template.

You will be presented with the following screen which is the email template editor:-

When using the email template editor, it should be treated similarly to how you would edit a standard Word document. There are some default buttons within the toolbar such as Bold (B) and Italic (I) as well as Allign Centre, Left and Right. Here are some other options:-
- Formats Dropdown – Used for adding various headings, text bolding, underlines, italics and allignments
- Paragraph Dropdown – Used for adding headings again and paragraphs in the text
- ‘Verdana’ Dropdown – This is the font type, currently set to Verdana by default
- 11pt Dropdown – This is the font size, currently set to font size 11 by default
- Scissors Icon – This is the “Cut” tool
- Pages Icon – This is the “Copy” tool
- Clipboard Icon – This is the “Paste” tool
- Left Arrow Icon – This is the “Undo” tool
- Right Arrow Icon – This is the “Redo” tool
- Link Icon – This is the tool for adding a link into the text box, such as a URL link
- Table Icon – This tool should be used for adding a table into the text
- 1, 2, 3 Icon – Tool used for adding a numbered list instead of bullet points
- Bullet List Icon – This tool can be used to create a bullet point list
- Unshaded ‘A’ – This toolbar option is used for amending the text colour
- Shaded ‘A’ – This toolbar option is used for adjusting the background colour
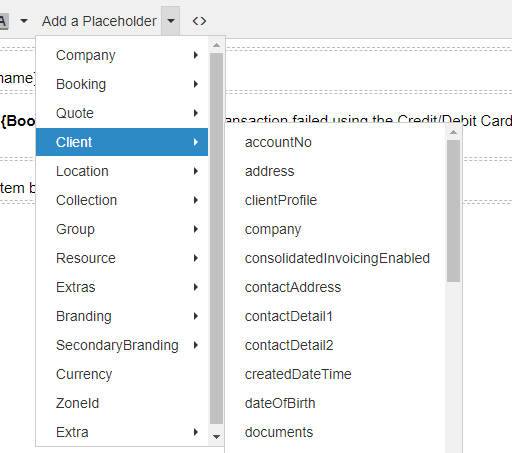
Add a Placeholder Dropdown – This option can be used for adding placeholders. Placeholders are pieces of data or information can be pulled onto the template. For example under the “Client” category in Placeholders, there is information relating to the Client:-