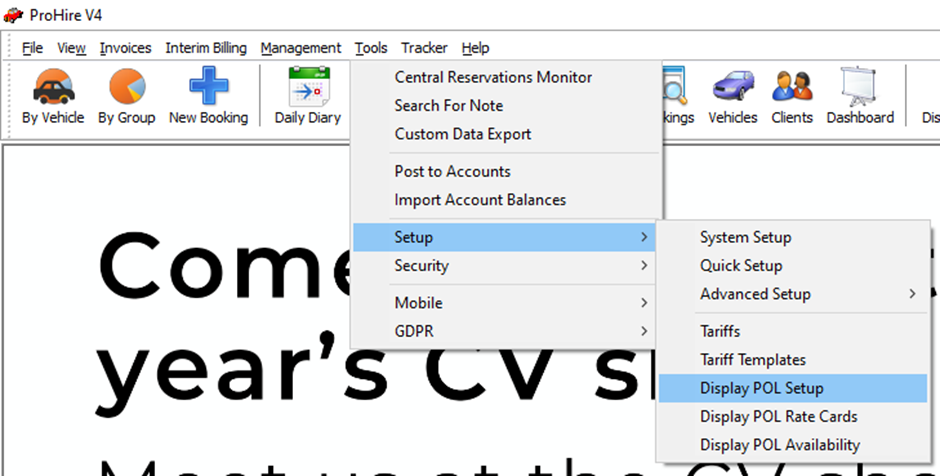
The first step is to follow the path depicted in the screenshot below to open your POL Setup screen.
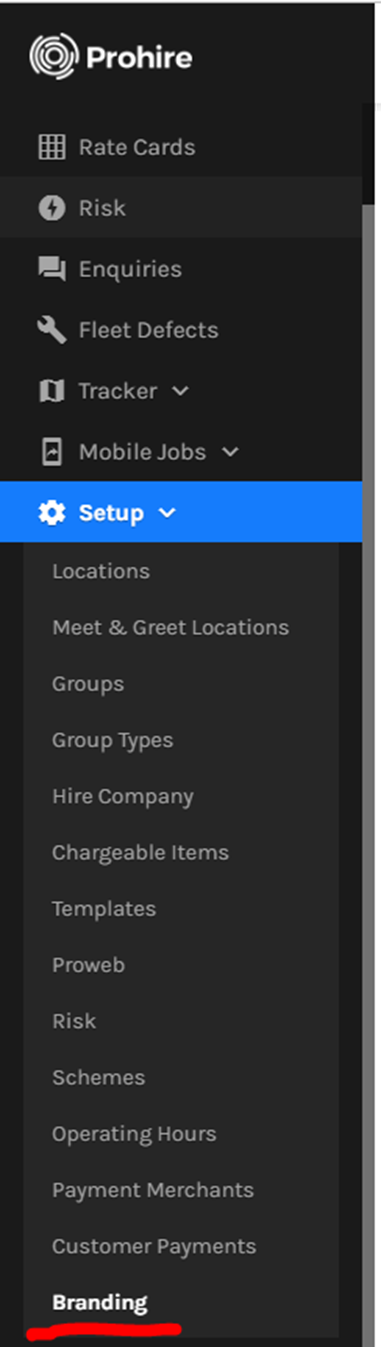
Once this has opened, you’ll need to open Branding via the tab within the toolbar on the left hand side of the screen.
This will display the below screen which is where all your branding lives. There are three different types of branding managed within POL Setup. These three types are Document Branding, Email Branding and Web Branding.
A member of the support team at Prohire will have added default branding, one of each type, when you came on board with Prohire / Proweb.
To edit an existing branding template, you can select the corresponding pencil to that of branding type you would like to edit on the right hand side.
To add a new version of branding, simply select ‘New Branding’ via the blue button on the right hand side of the screen.

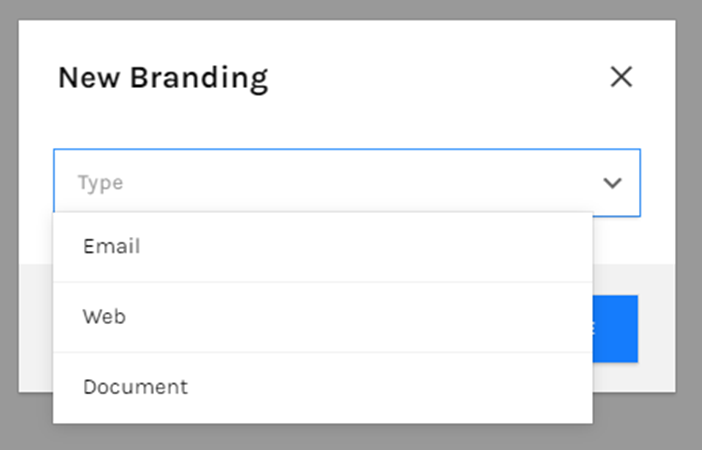
Once you have selected to add new branding, the following box will be displayed. This will have a drop down box property that will allow you to choose which type of branding it is that you are adding.
After choosing the branding type, the next step is to fill in the information for the branding you have chosen. Screenshots of each branding type can be found below for your reference.
Document Branding:

Web Branding:
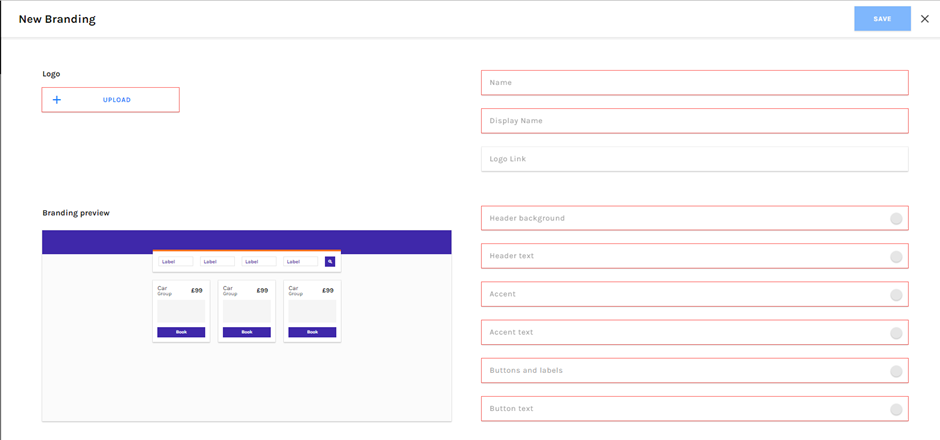
Email Branding:
