Accessing Locations
Firstly, navigate to Tools > Setup > Display POL Setup. From the online menu on the left-hand side, click on the “Locations” option.

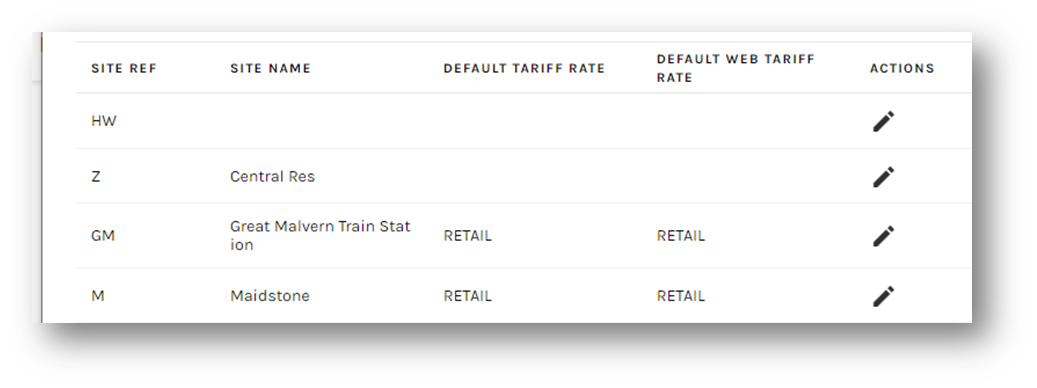
You will then see a list of locations currently setup on your system. Locations on POL sync from Prohire Desktop Sites.

Locations Setup
To enter a location setup, select the pencil icon under Actions.
You will notice most fields are grayed out and cannot be edited. This is because this information syncs from Prohire desktop and needs to be changed via Quick Setup.
Proweb - Locations
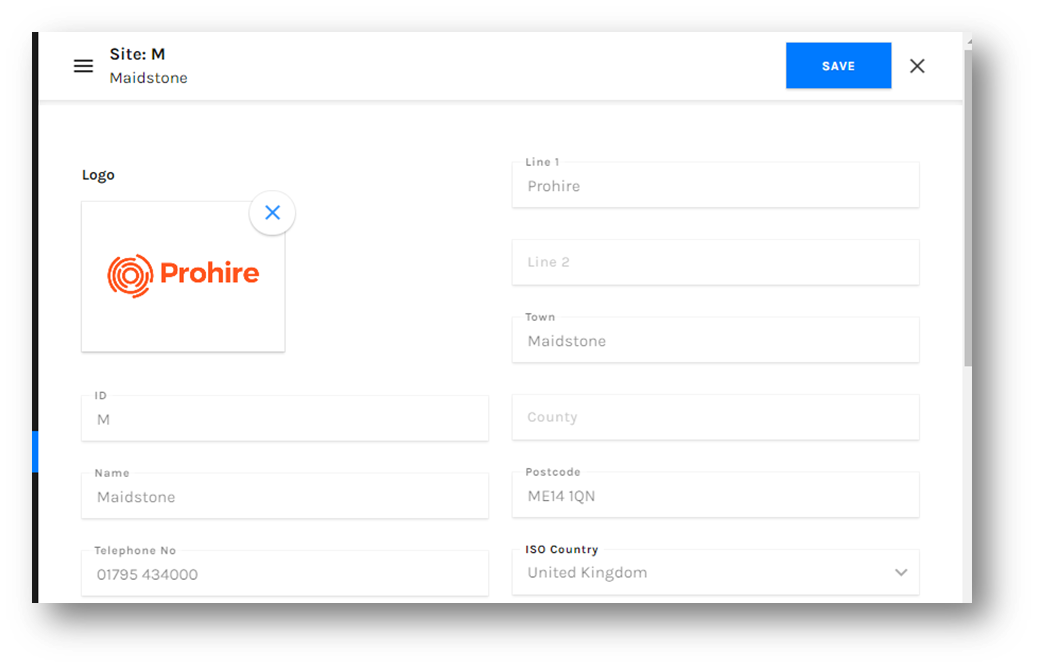
Prohire Desktop – Site Details

There are three settings which can be configured within the location details. These are Merchant Account, Email Branding & Document Branding.
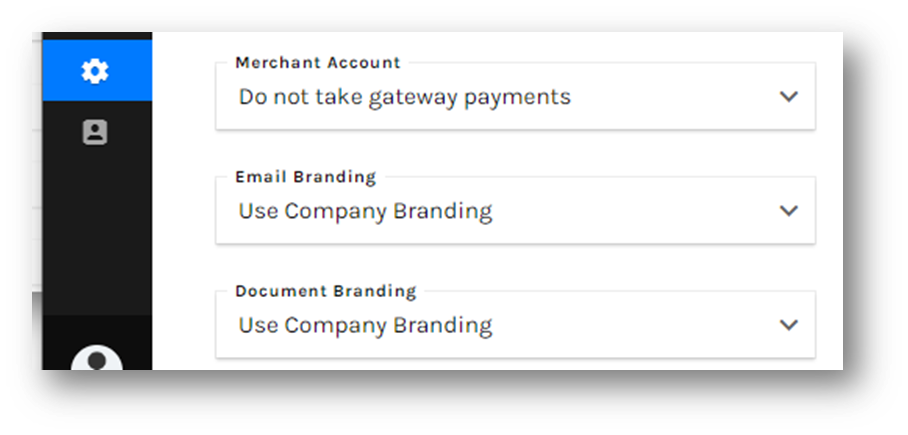
Merchant Account
If you have a payment gateway/multiple gateways plugged into Prohire here is where you can specify which one you wish to use for this specific site.

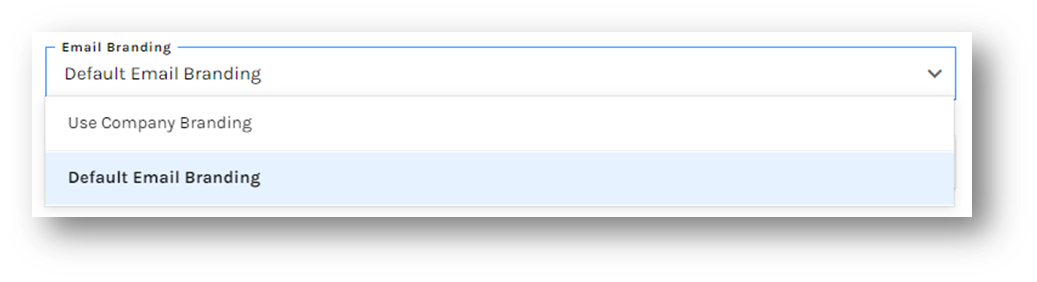
Email Branding
This is where you can specify which branding you would like to use for emails sent from this site (Companion Emails / booking confirmations etc).
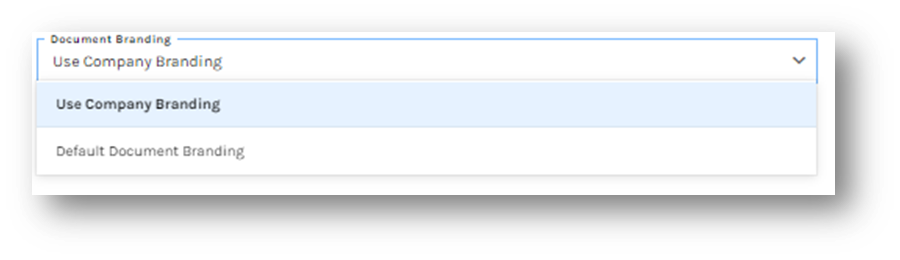
Document Branding
This is where you can specify which branding you would like to use for documents that are sent from this site (Rental agreements / Check Sheets)
To save the changes made select the Save button at the top of the screen or click the X to cancel the changes.
