Once you have logged into Prohire and the software is open there are two directions you can take, the first being ‘Clients’ highlighted below, the other being the Allocation Chart via ‘By Vehicle’ also shown in the image below.

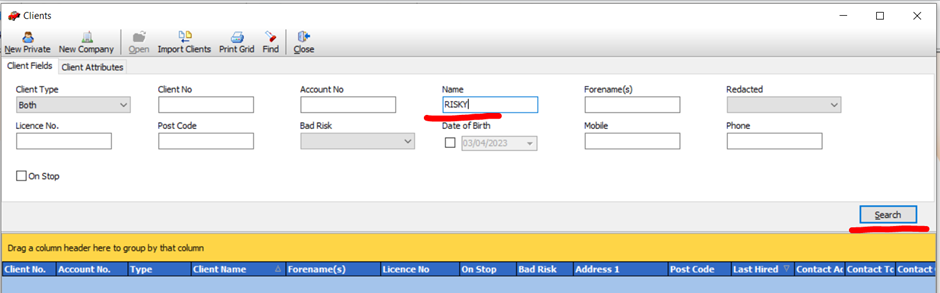
The first path we will take is through the ‘Clients’ button on the front screen of Prohire. After select ‘Clients’, enter the name of the client and hit ‘Search’.
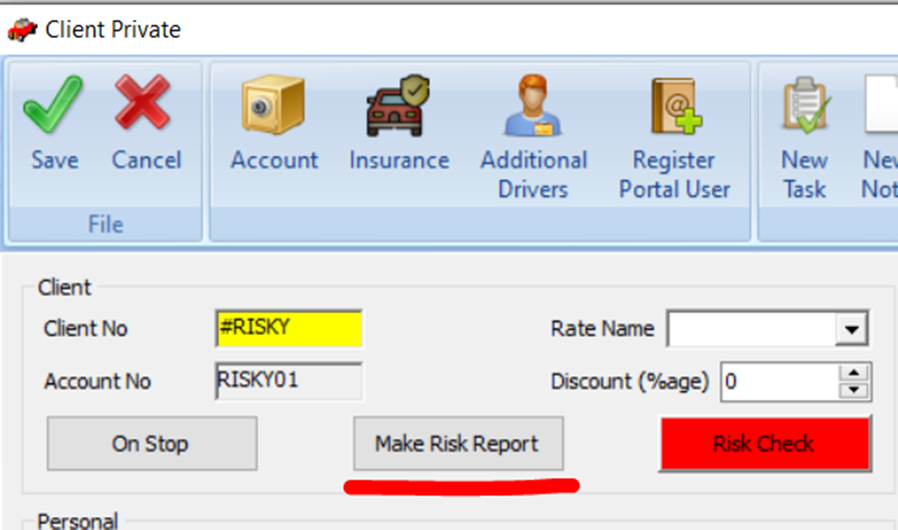
Opening the client record, you will notice a button toward the top left-hand corner of the screen labelled ‘Make Risk Report’, clicking on this will redirect you to your Prohire Online Setup where you can begin making your new report.
The screen shown below is where you will enter the information to create the new Prohire Risk Report. Enter the summary, incident type(s) and a description. Once done, remember to save your report via the blue ‘Save’ button in the top right-hand corner of the screen.

It is also possible to create and attach a note to the report if you would like to add additional context to it.

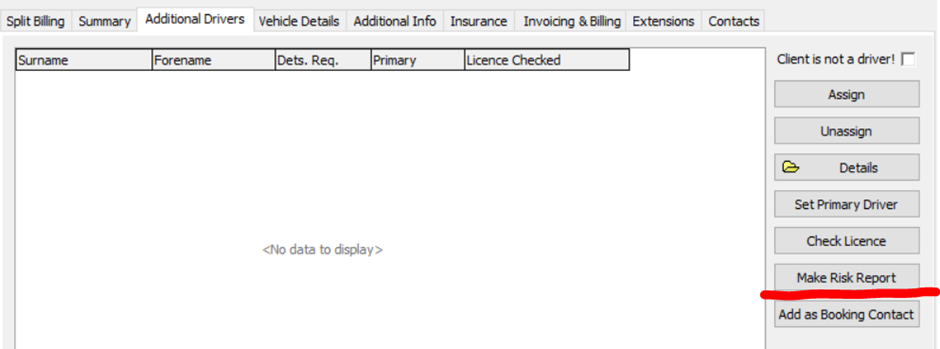
The second method to create a Risk Report is to simply do this through the booking screen, within the ‘Additional Drivers’ tab and selecting the ‘Make Risk Report’ you should, by now, be familiar with.
The third and final way of making a Risk Report is to do it via the ‘Check In’ screen. Firstly, check in your ‘On Hire’ booking before selecting ‘Report Risk Incident’.

There is a fourth way to make a risk report which is a second option when in the booking screen and that is to simply select ‘Make Risk Report’ from the bottom of the booking screen as seen below.
