Explains how to set up the Posting settings when Importing Clients/Account Balances from Sage into Prohire.
How to Setup the Import options
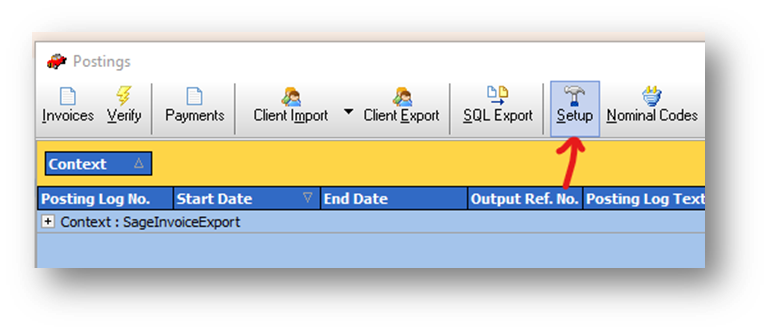
Firstly, begin by navigating to Tools > Post to Accounts > “Setup” button shown in the screenshot below.


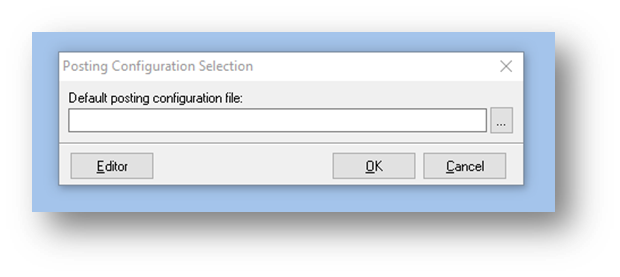
Next, click on the “Editor” button to edit the existing Posting Configuration. If you have not yet created a Posting Configuration, please follow the knowledge base guide here:- https://knowledge.prohire.co.uk/how-to-setup-invoice-posting-to-sage

At the very top of this window, there are 2 tick boxes:-
- Import All Data (Excluding Credit Limit and Balance)
- Import Balance and Credit Limit Data
- The first option will only import your Sage Account Clients into Prohire (Excluding the Credit Limit and Balances)
- The second option will Import your Sage Account Clients into Prohire (Including the Credit Limit and Balances)
How to Import Clients from Sage to Prohire
Again, from the front screen of Prohire, navigate to Tools > Post to Accounts.
In the Postings screen, you will see on the menu bar is’ Client Import’ with a little drop down arrow next to it. Clicking this dropdown arrow with present you with 2 choices: Import and Import All.
Import – Will only import the Accounts Customers where they have been marked as HIRE in the Analysis 1 field in Sage. So this option will allow you to be selective of what Account Clients you want to transfer into Prohire.
Import All – Will extract all of your Account Customers from Sage along with their account address details and insert those records into Prohire. Once it has finished it will tell you how many accounts it has created and amended.
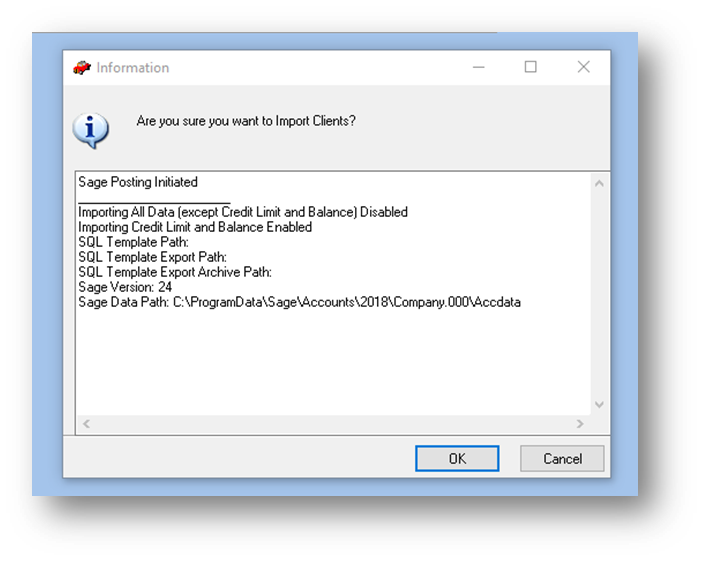
You will see a dialogue box confirming the settings that you have enabled before hitting the OK button to continue.
