The first thing you will need to do is follow the steps below to reach the rate card.
Tools > Setup > Display POL Setup > Rate card > Manage card
Your screen should look something like this.
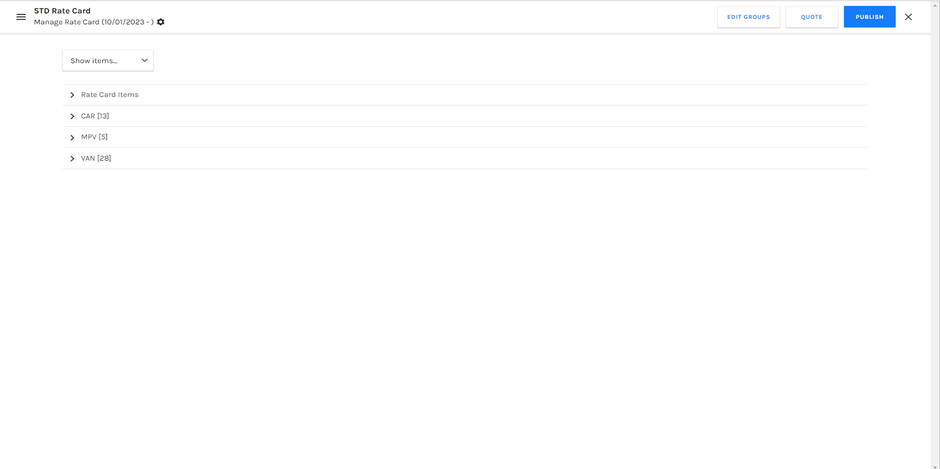
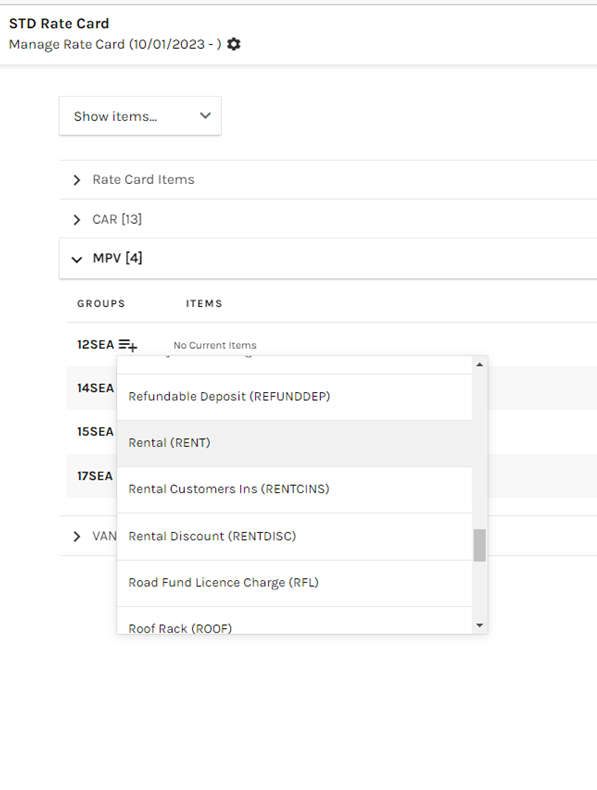
From here you can expand the group type you would like to adjust the banding for by clicking the arrow pointing to the left. Once you have expanded the group type you will need to click on the “+” Icon on the group code of your choice to add an item. I will be adding rent.
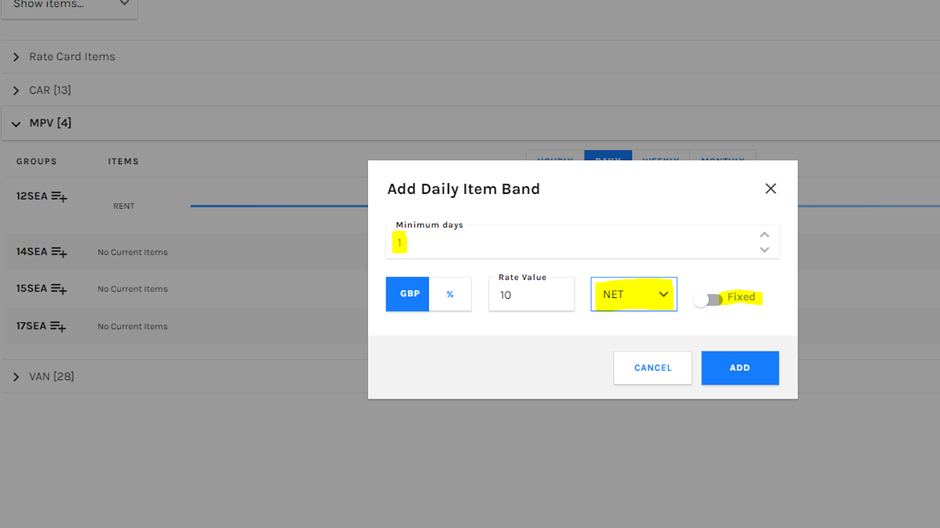
This will add a solid blue line. If you hover over the blue line you will be given the option to click on an empty node. The first node will always be for 1 day. Click on the node to add it and select a price for 1 day for the item you have selected. You will also be able to choose weather the price is including or excluding VAT and if the price is fixed or not.
Once you click add you will notice that the empty node will now have changed in to a solid blue circle. You can repeat this process with other nodes but this time you will be able to select the number of days the nodes relate to.
For example I have now added another node that will charge £5 per for the 10th day and will continue to charge £5 per day.


Once you have made all of the changes to your pricing you will need to make sure that you publish the rate card using the “Publish” button otherwise the changes you made will not be saved.
Please see below for our article on published and unpublished rate cards.
https://knowledge.prohire.co.uk/published-rate-card-vs-unpublished-rate-card